Introduction
Welcome to the official documentation for the Divi Fusion Layouts Pack. This document will guide you through the installation, customization, and utilization of our layout pack. We aim to make your website building experience as smooth and enjoyable as possible.
Installation
Step 1: Download the Layout Pack
After purchasing the layout pack from the Divi Marketplace, you will receive a .zip file containing all the layout files.
Step 2: Extract the Files
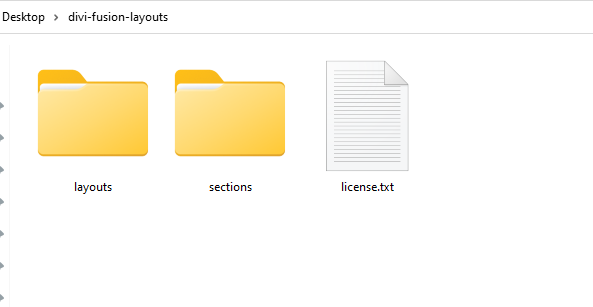
Extract the .zip file to your computer. You will find all .json files for each section layout in the “layouts” folder. If you want to import a specific section, you can find the individual section’s .json files in the “sections” folder.
Step 3: Open Divi Library
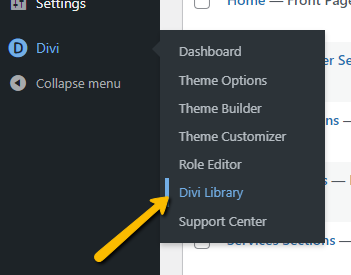
In the WordPress dashboard, navigate to Divi > Divi Library.
Step 4: Import Layouts
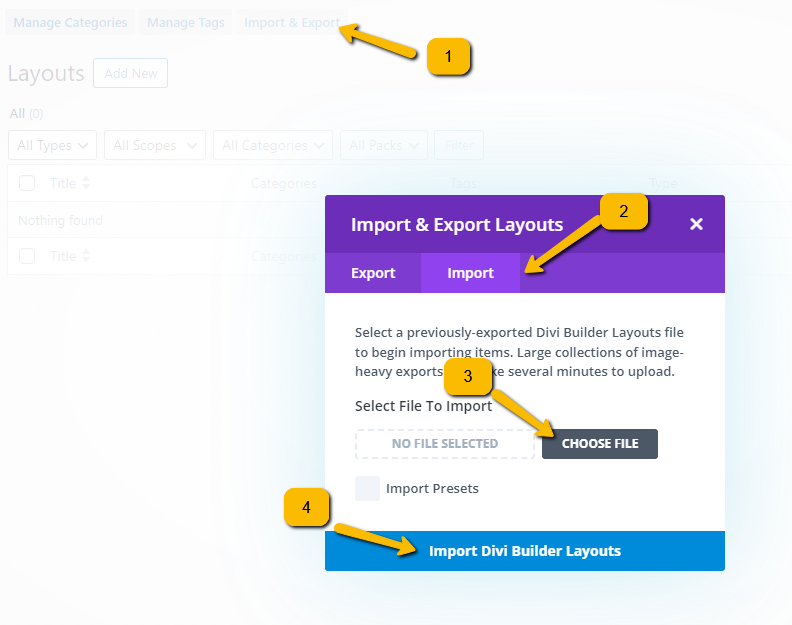
- Click the “Import & Export” button at the top of the Divi Library page.
- In the modal that appears, select the “Import” tab.
- Click “Choose File” and select one of the .json files you extracted earlier.
- Click the “Import Divi Builder Layout” button.
- Repeat the process for each .json file to import all the layouts.
Step 5: Use the Layouts
- Open the page or post in the Divi Builder.
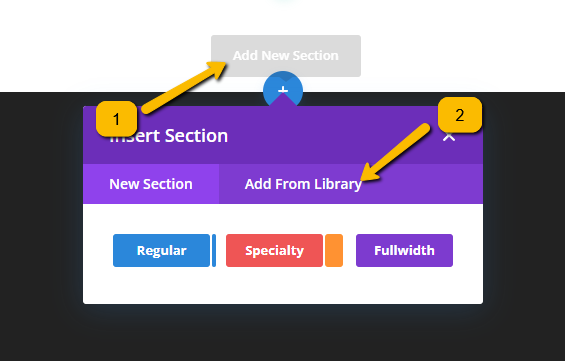
- Click the blue “+” button to add a new section.
- Select “Add From Library.”
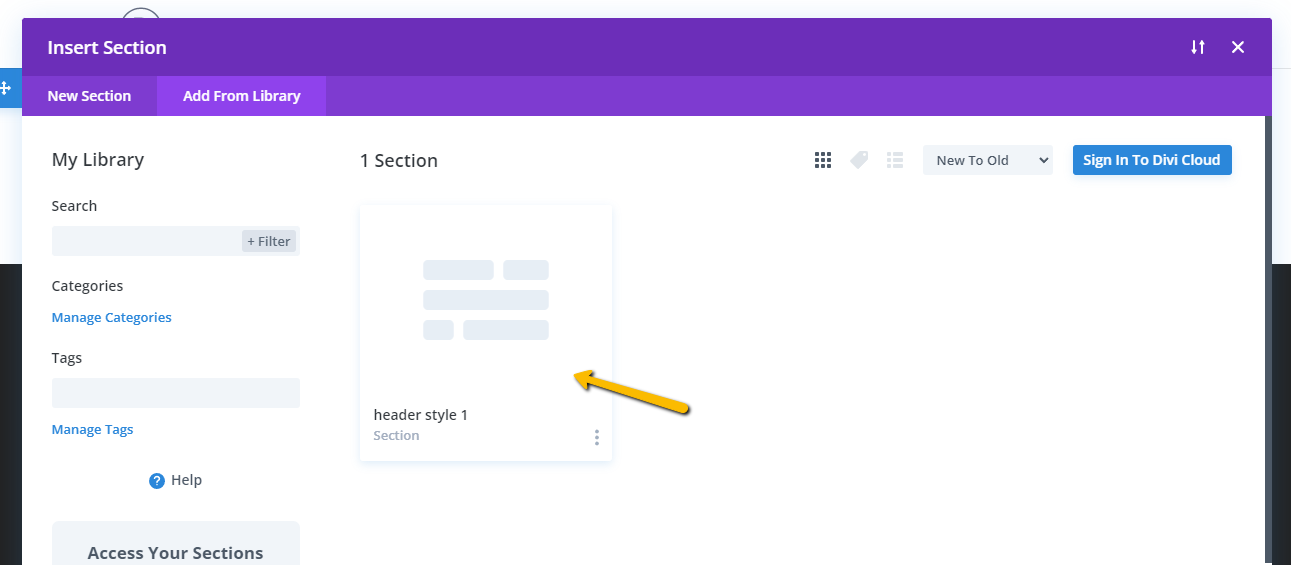
- Choose the layout you want to use from the list of imported layouts.
Each layout is designed to be flexible and customizable. After importing a layout you can change colors, fonts, and styles etc…
Important Note on CSS Edits
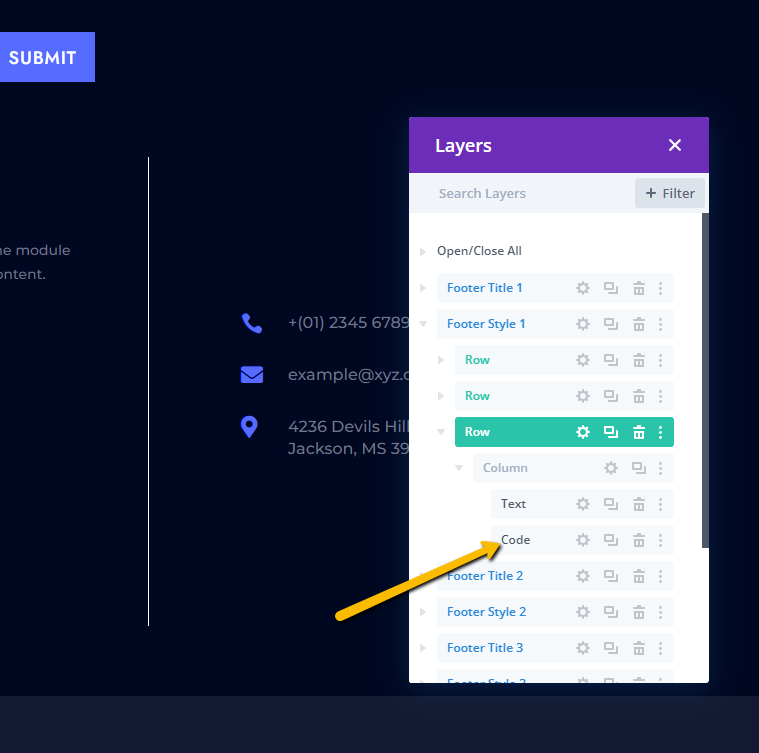
We have applied custom CSS in the modules settings to enhance the design. In some sections, we’ve added extensive CSS customizations directly to the code module. If you need to make further adjustments, please check both the module settings and the code module to ensure that you are editing the correct CSS.
